After founding the FabLab Winti and Crowdfunding some money, we decided to build up a LaserSaur Laser cutter. I took hundreds of hours to build it up and after few months of our free time we invested in it, finally the laser is running!
And I love it! 🙂 ![]()
Now, my girlfriend is moving into the same city as I life and somehow the idea grew, to make her a special map of the town.
As I’m also a geocacher, mountain biker and a fan of OpenSource, I knew the OpenStreetMap project and I’m a big fan of it, because the maps are much better, than what Google or Nokia has at the moment. Don’t misunderstand me, for normal navigation in a car, Google or Nokia maps are very good, but if you’re off road, these maps won’t help you very much.
The OpenStreetMap are designed in SVG-Format. And the Lasersaur loves SVG-Formats, so …. Why don’t I just engrave a map on piece of playwood? That’s where my research began to engrave my city.
Exporting the map with Maperitive
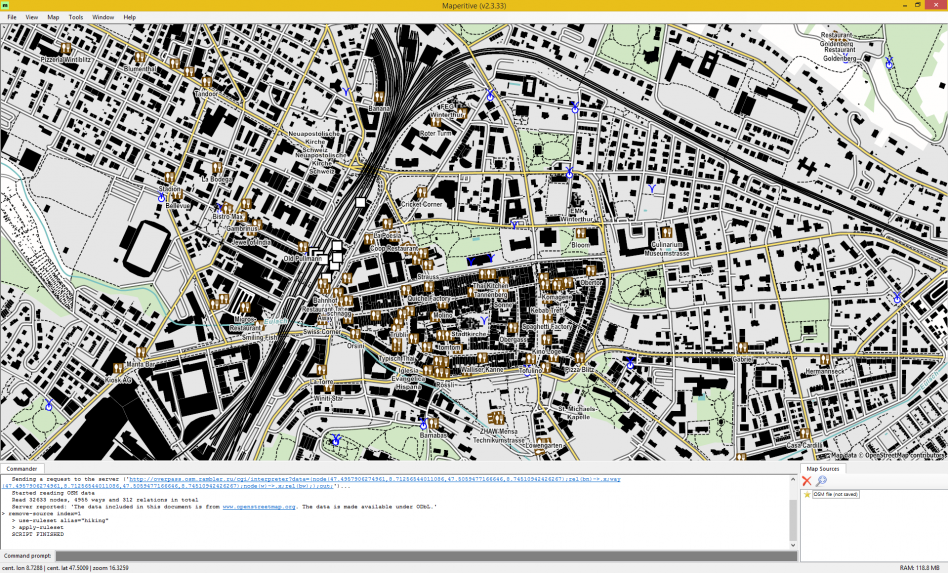
There are several ways to export a SVG-File from OpenStreetMap. The best I found was the tool Maperitive.
After Downloading Maperitive, you can start the tool direct from the extracted folder.
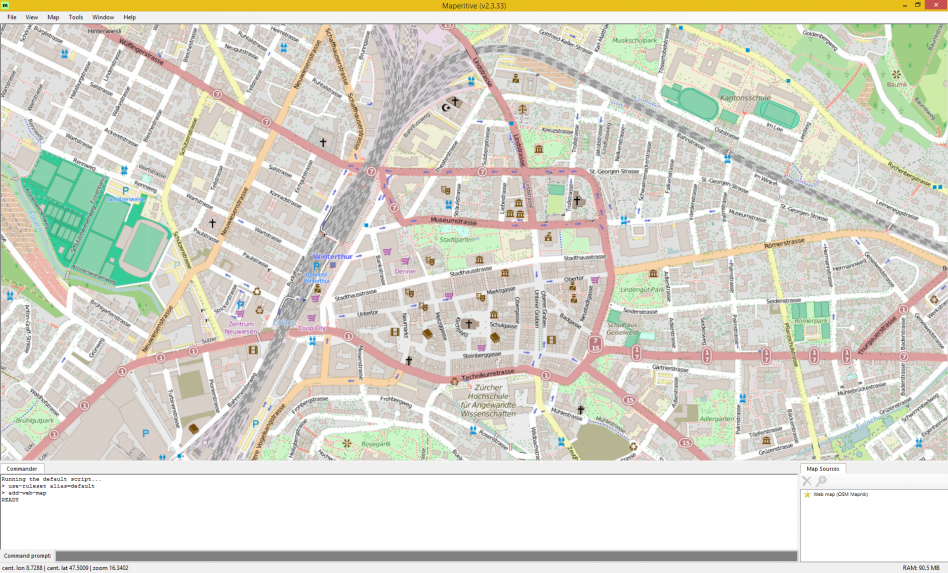
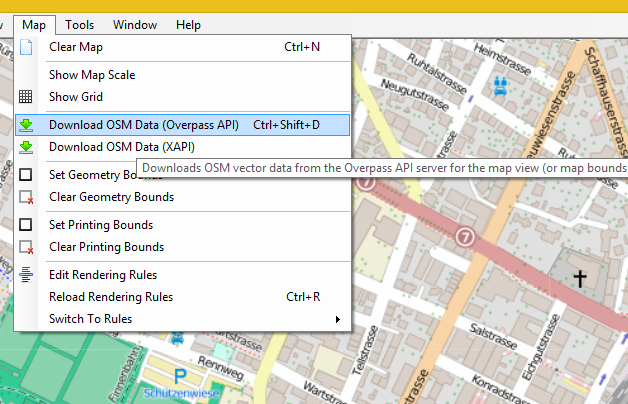
The next step is, to find the area which you want to export.
Then you need to download the data offline.
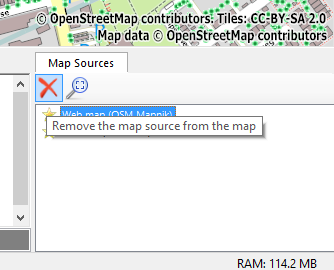
After that you need to delete the web-overlay.

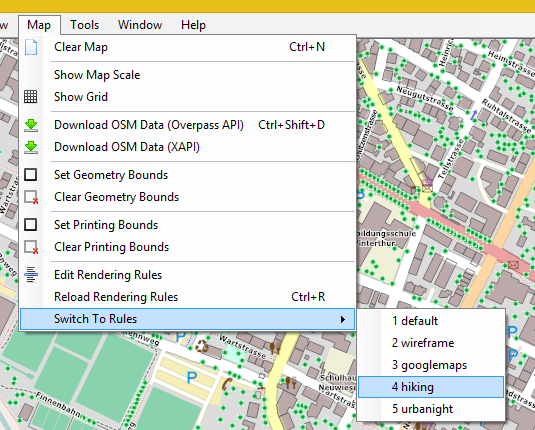
So … now is the question, is this view one which we can engrave with the laser? I decided, that it is not the best at all and changed to the view “hiking”.
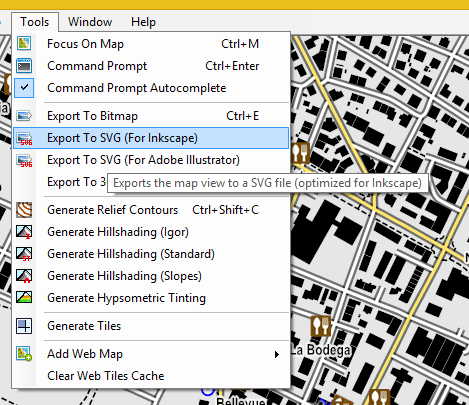
Now, we’re on the point, where we can export the file as an SVG. I tried it several times to export to inkscape and rework the map with inkscape. But at least, I just had problems with it, and so I ended up, exporting and editing the map with Illustrator.
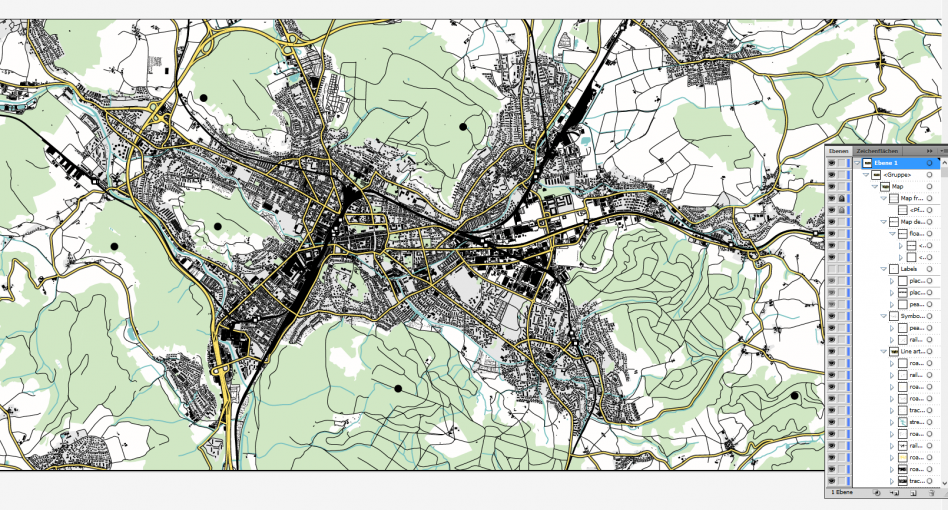
Rework the Map with Illustrator
Now comes the most time consuming part. Finding and deleting all the unnecessary layers which I won’t engrave and converting the needed objects into engraveable paths. That’s a step where I can’t rellay help you in this tutorial and needs a lot of patience.
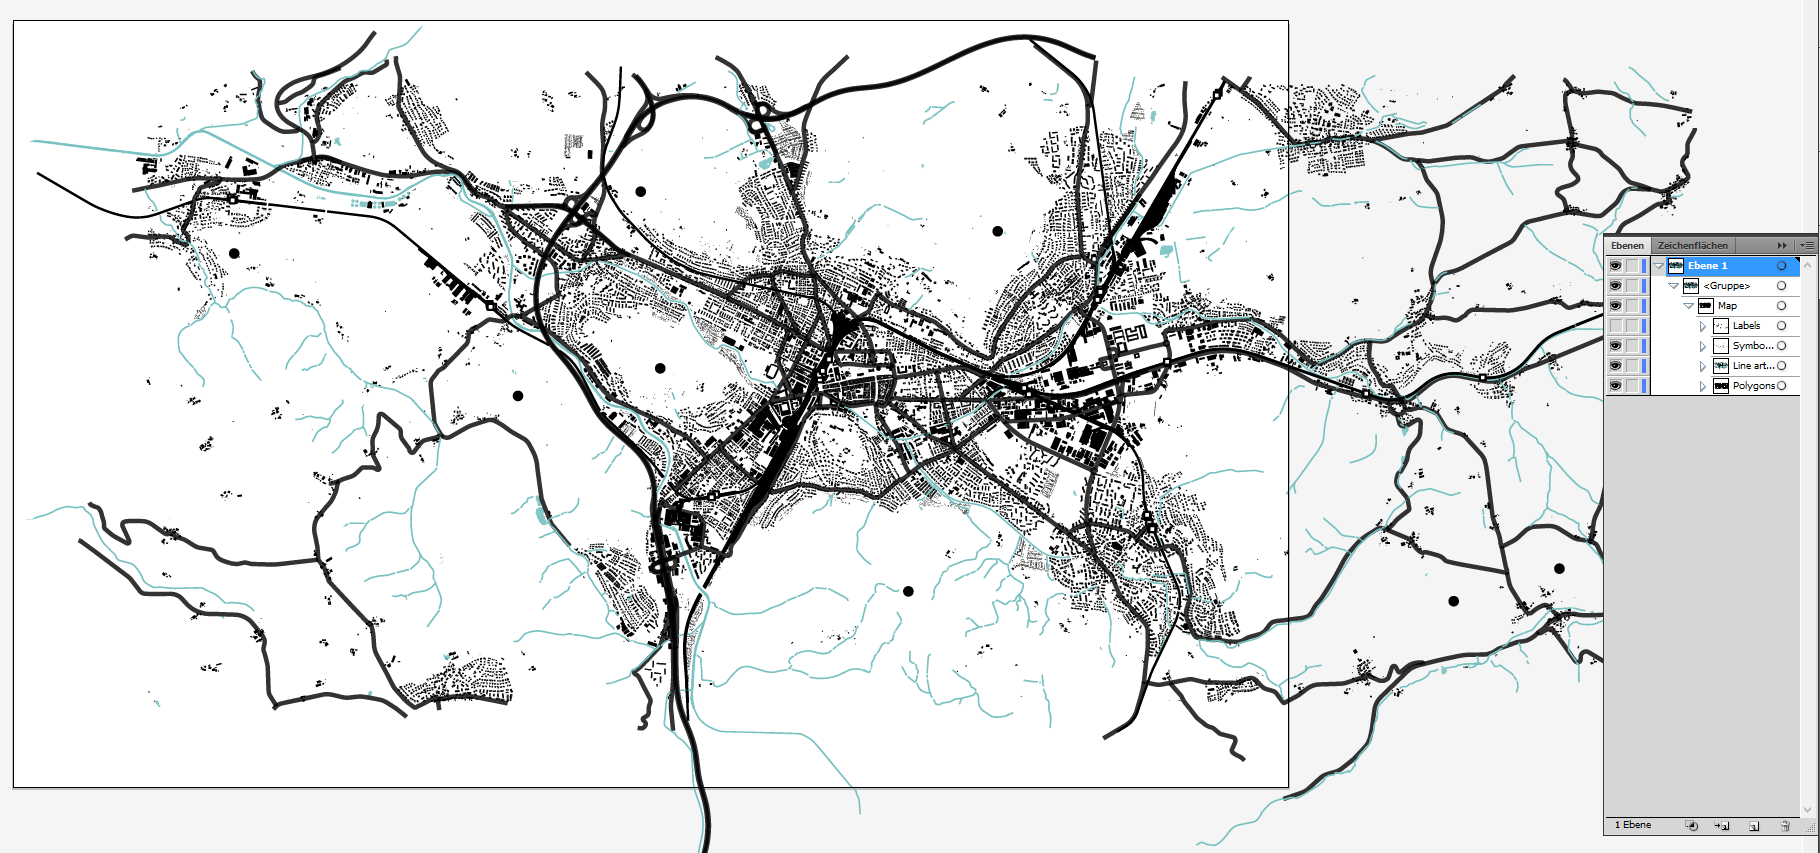
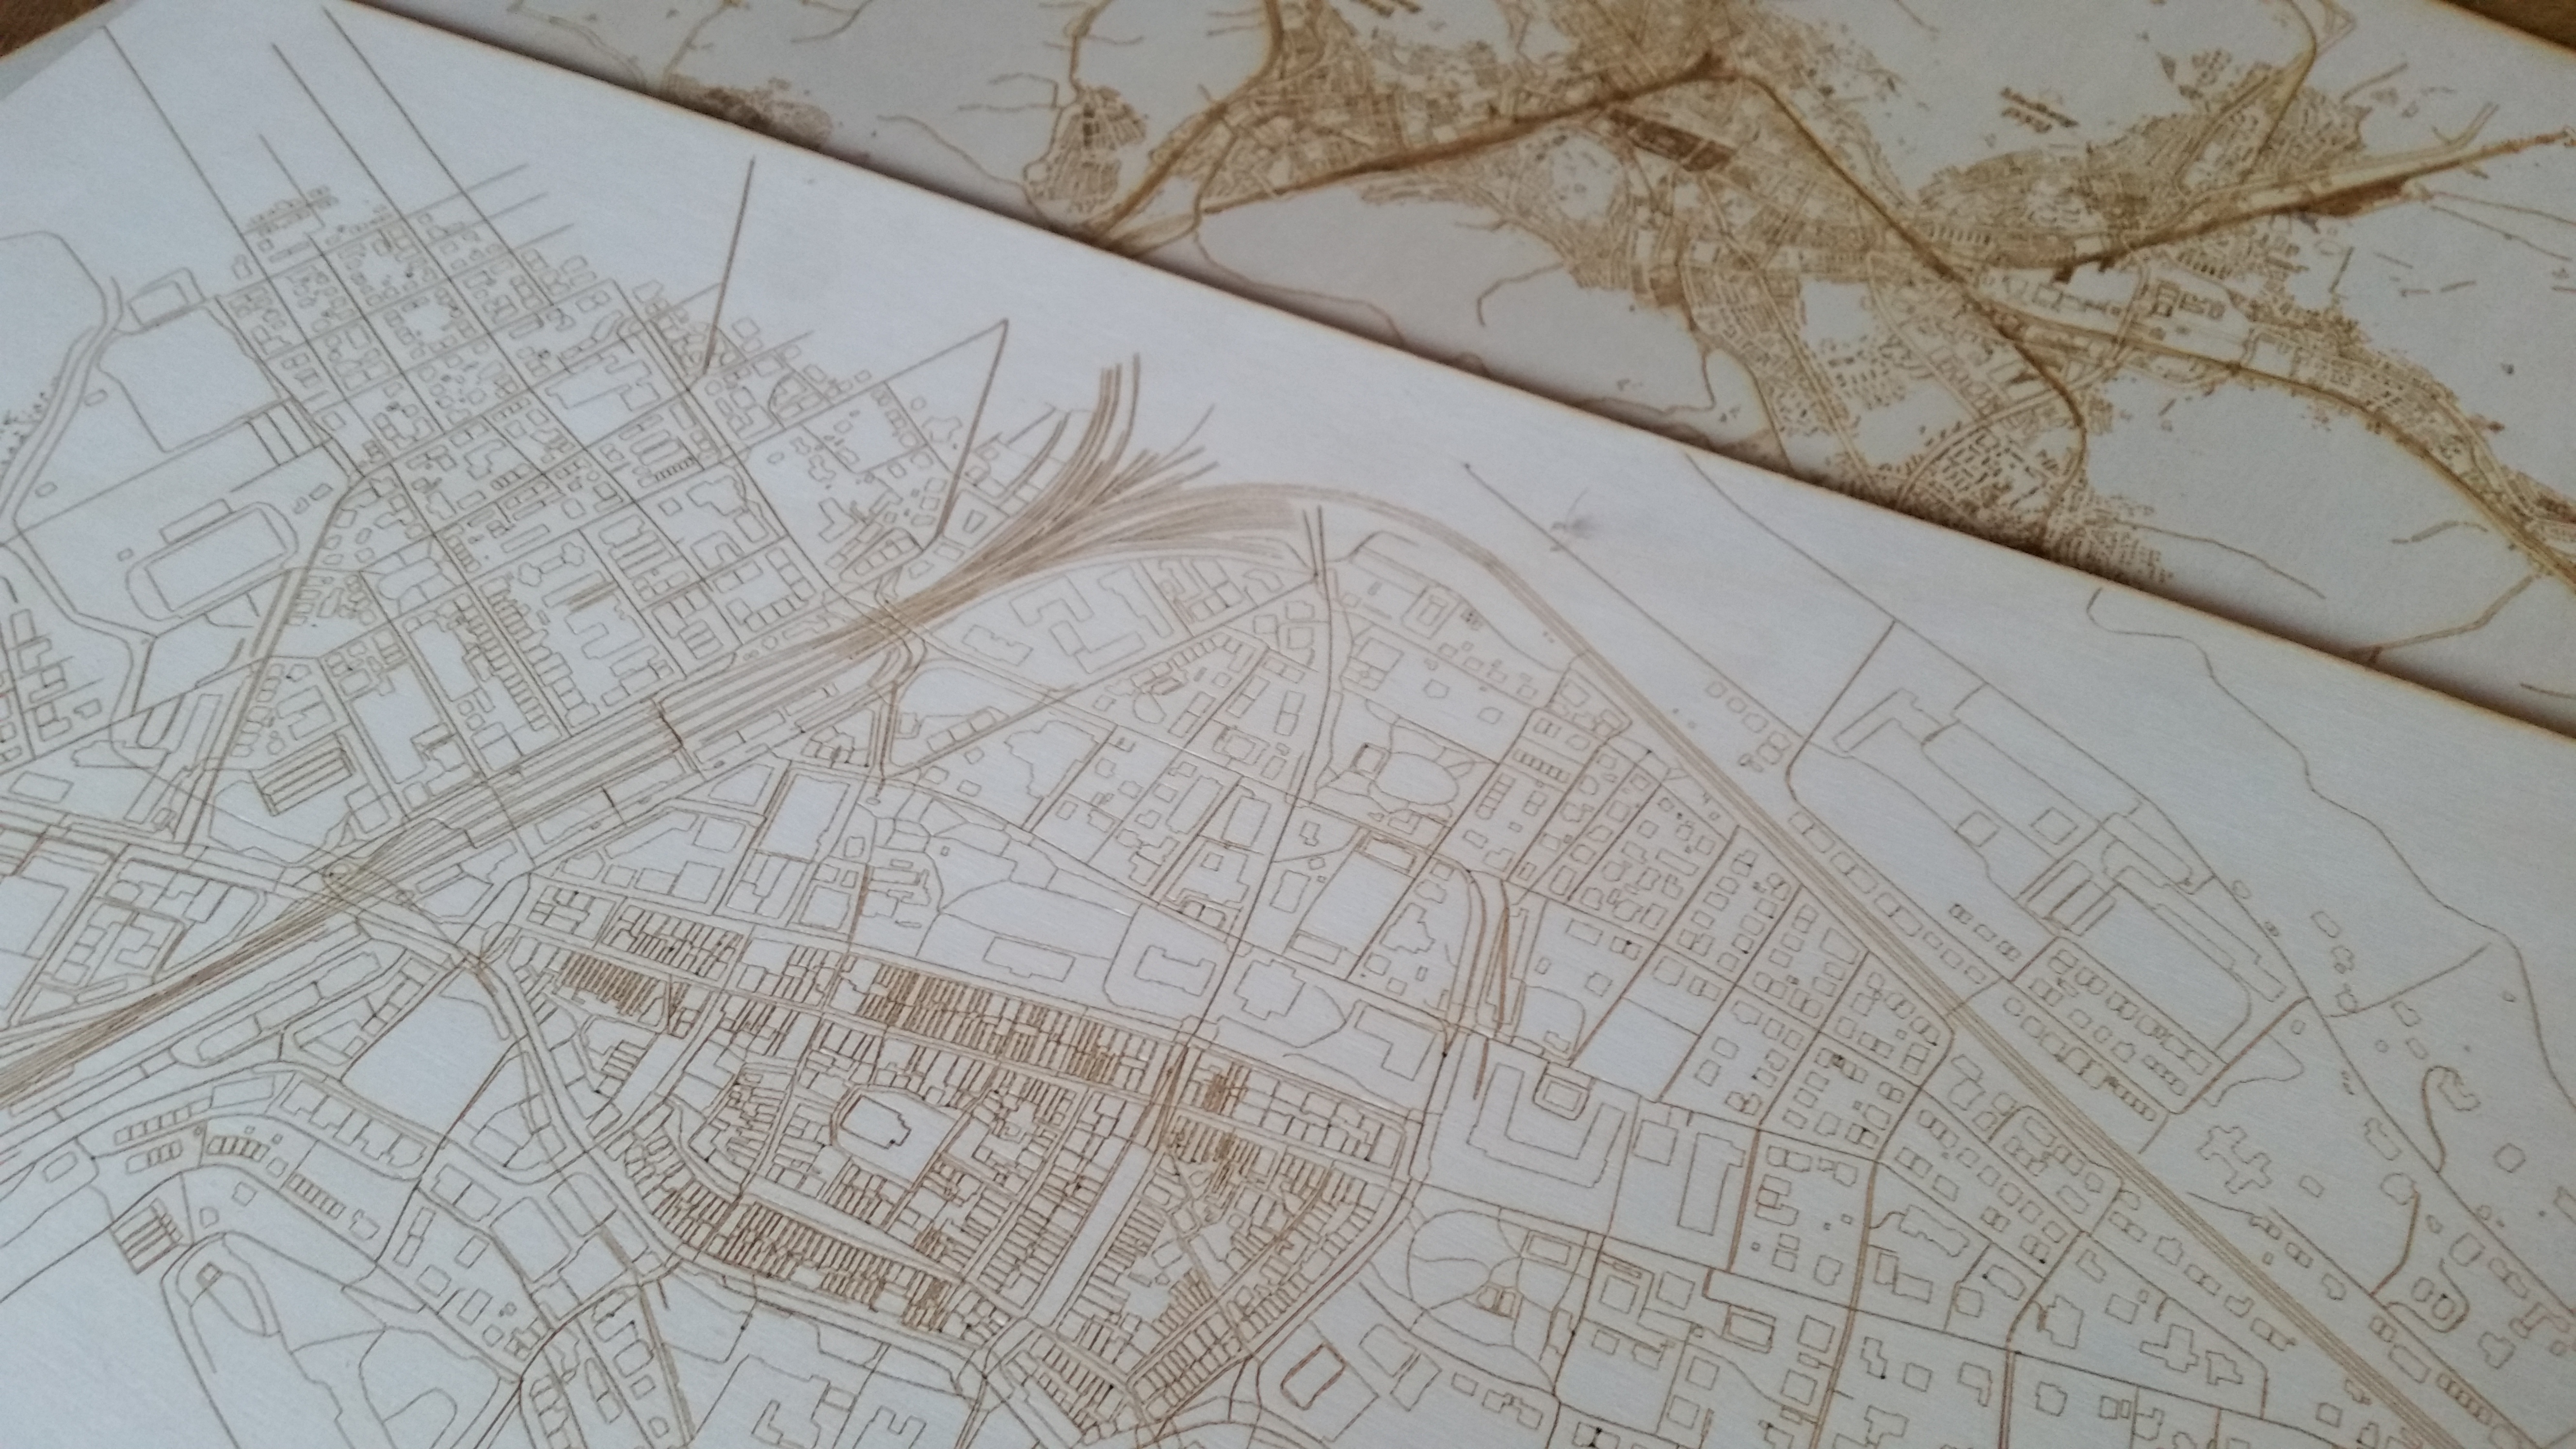
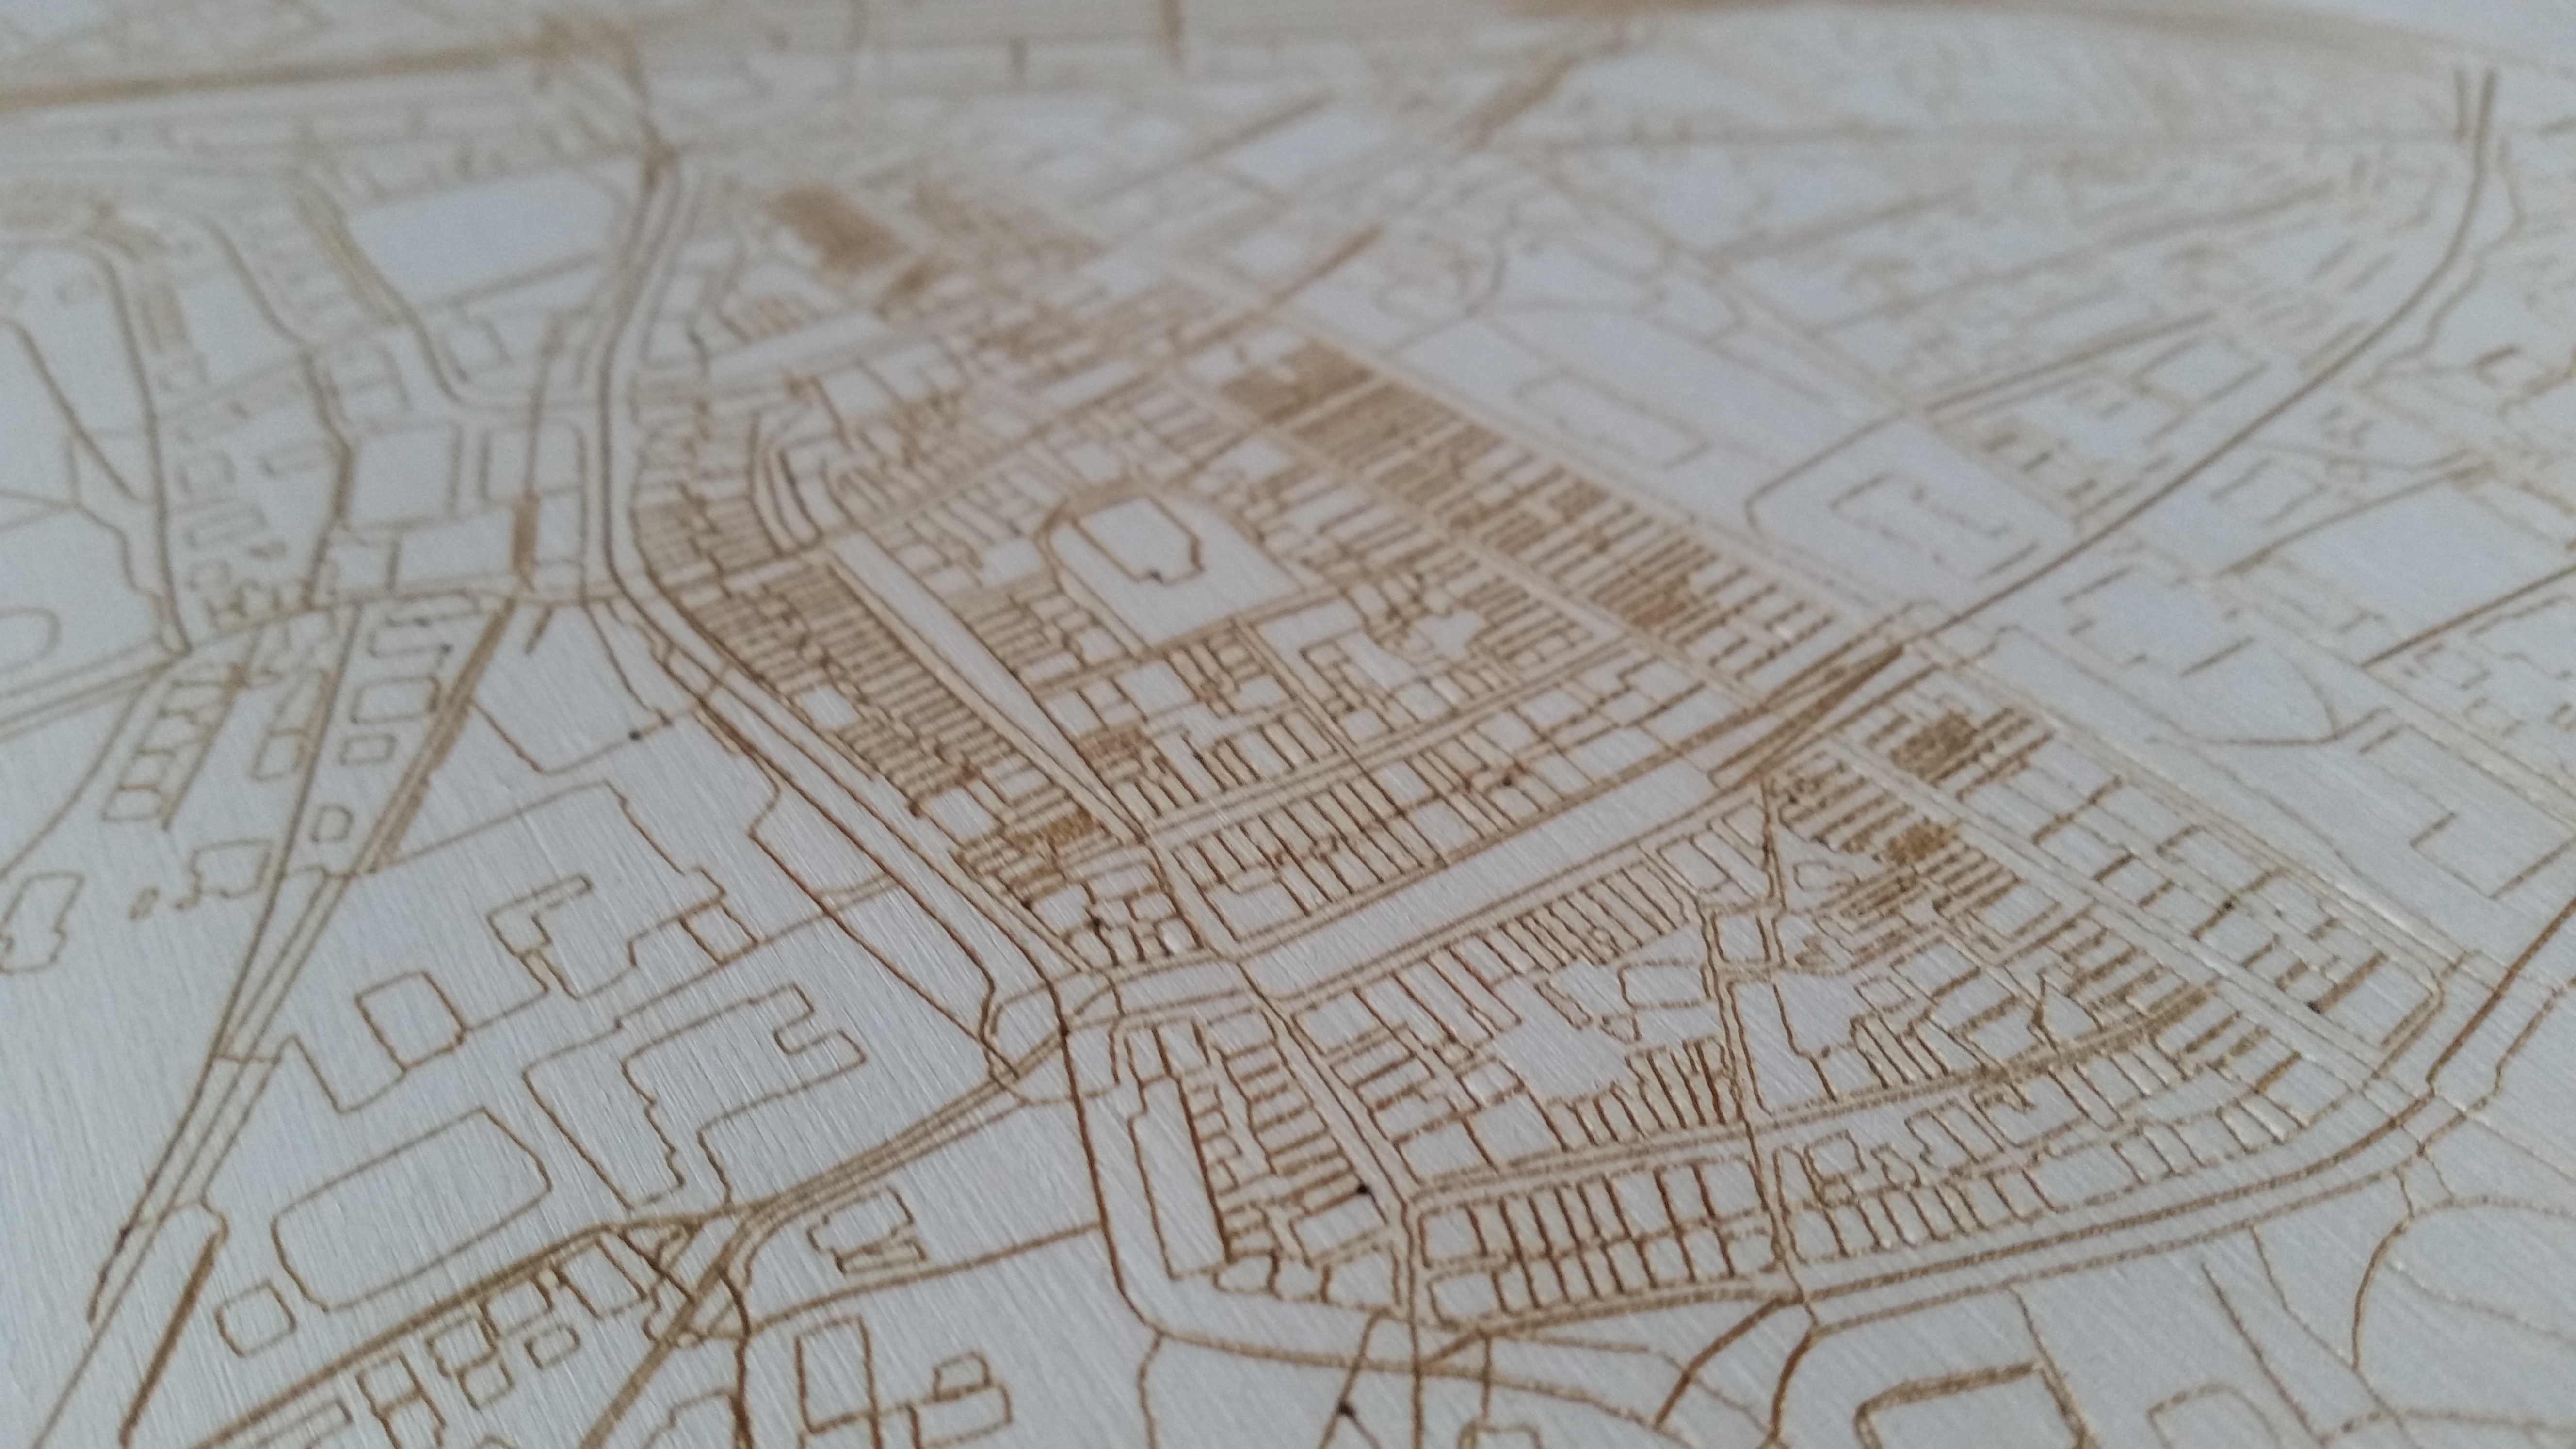
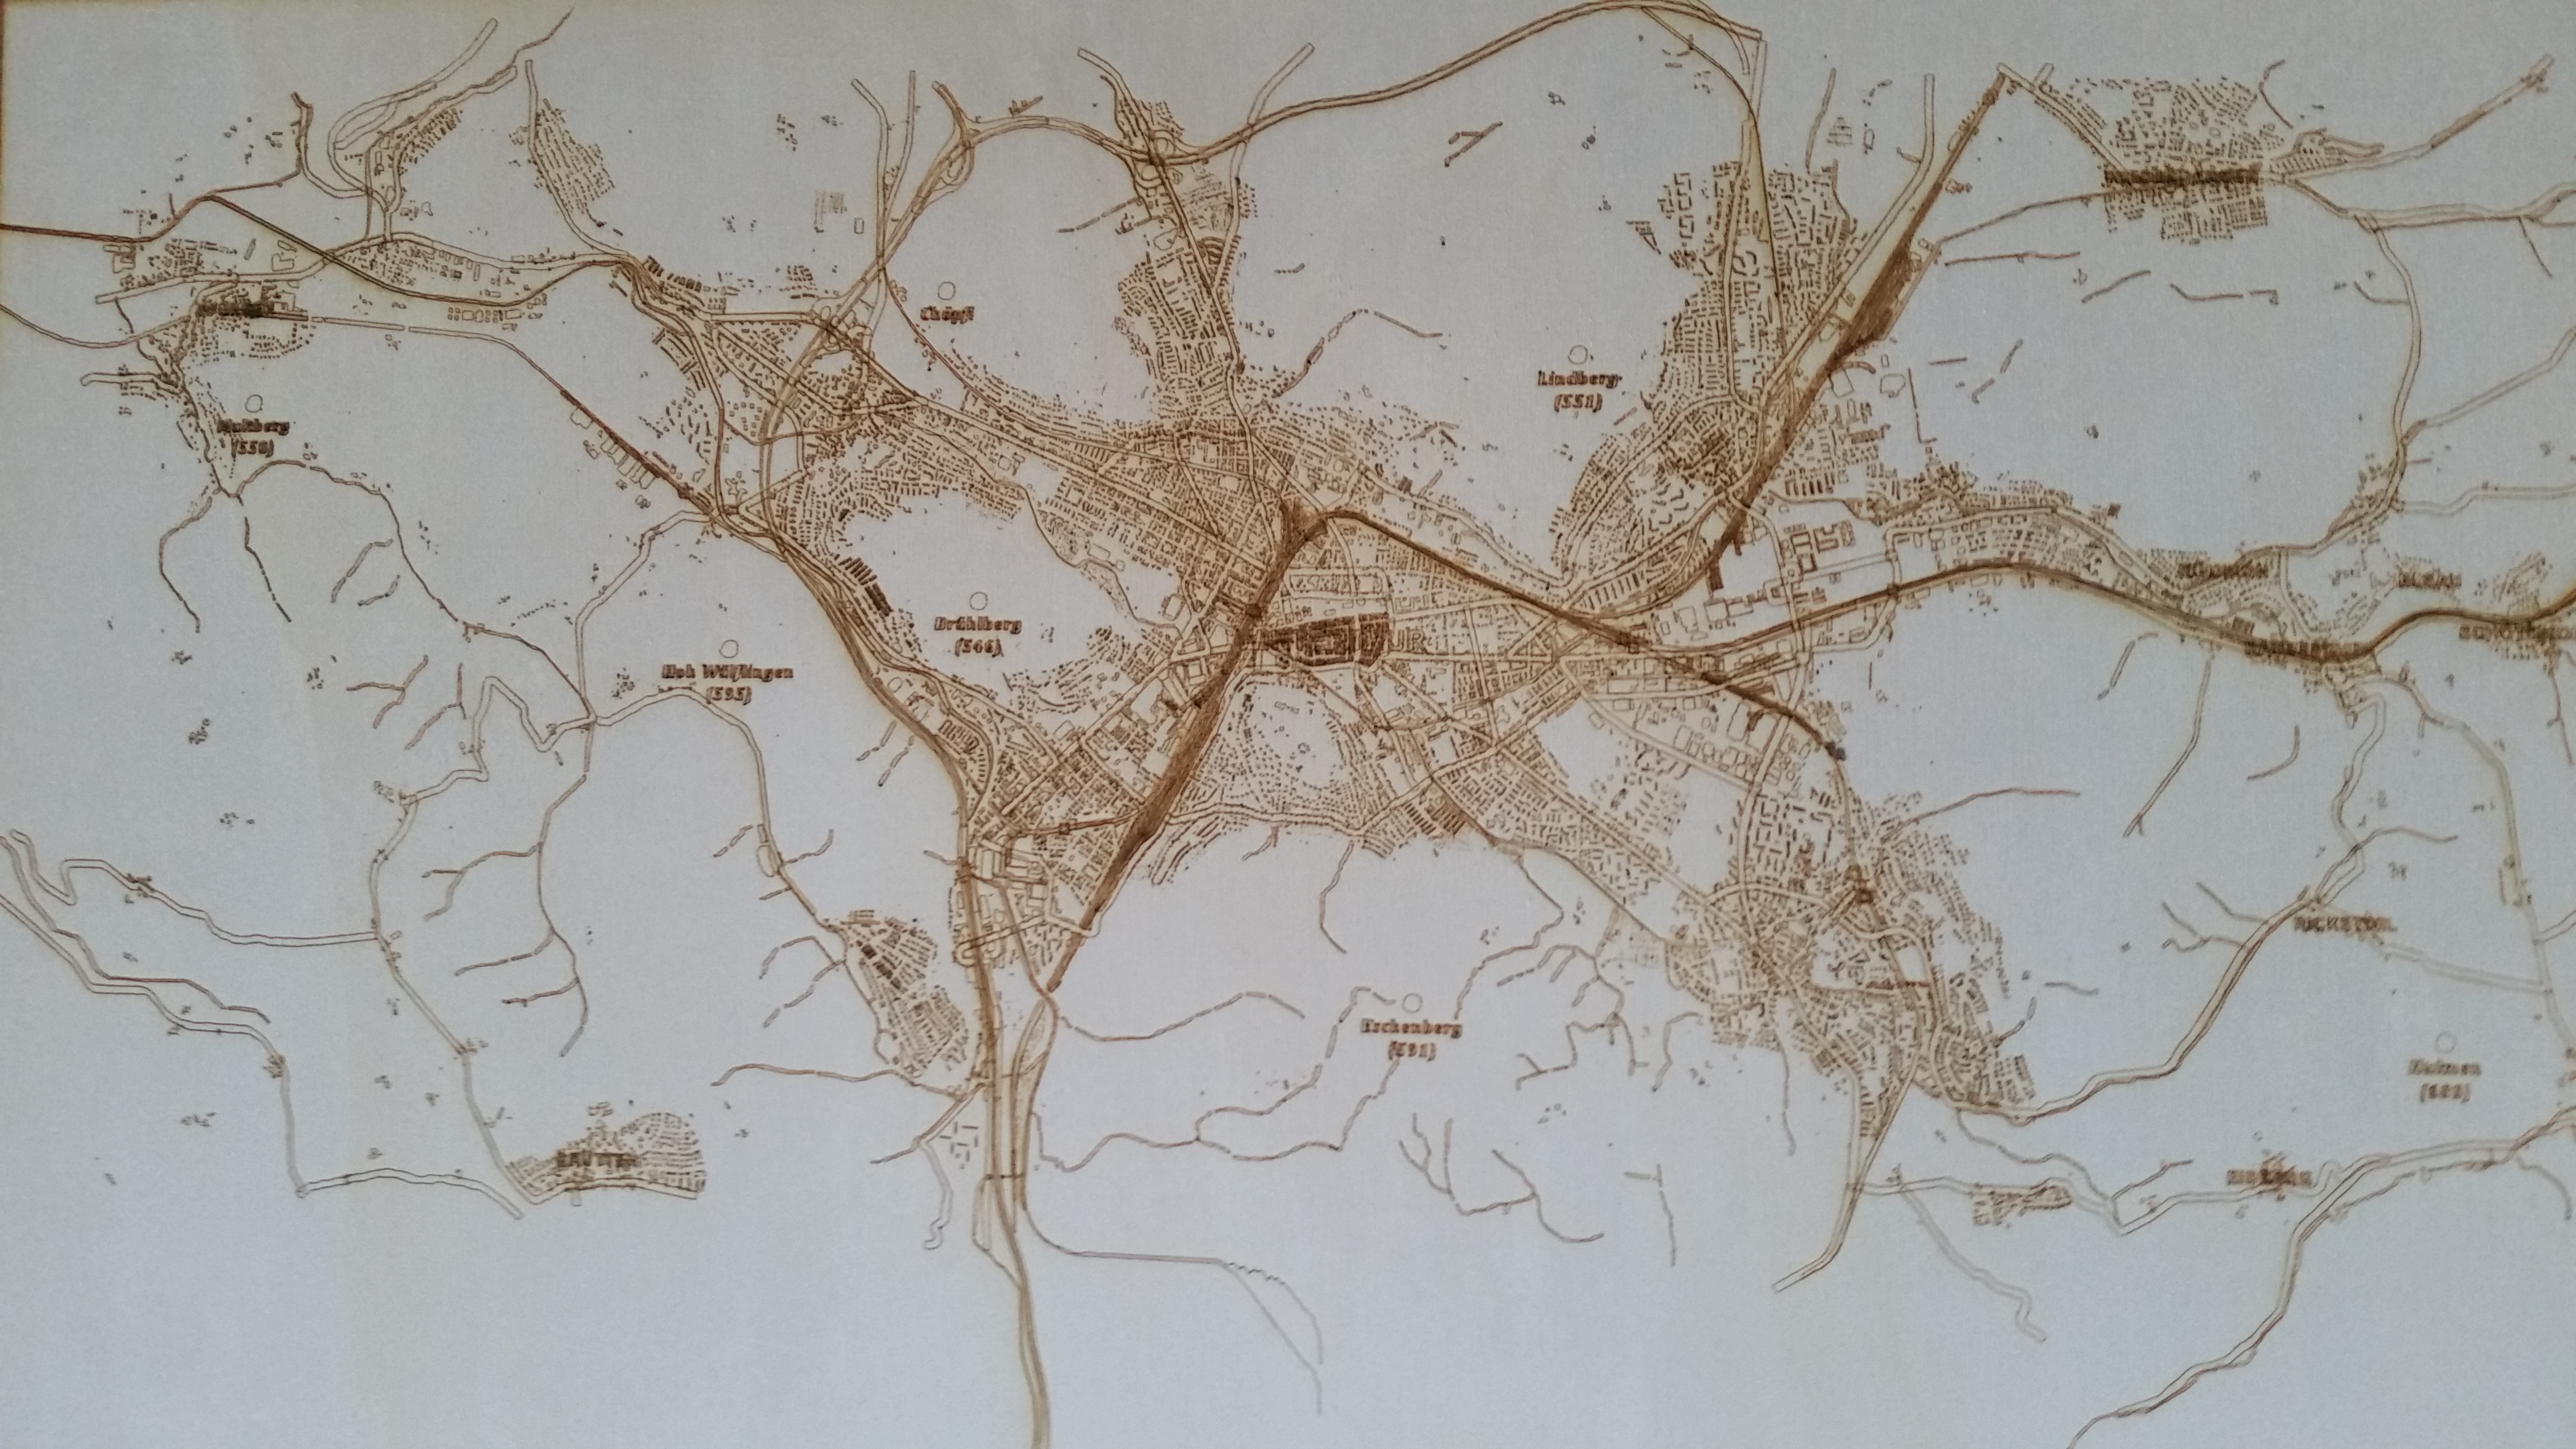
I ended up with two different maps. One was a close up of the inner city and the other was a view of the whole city.
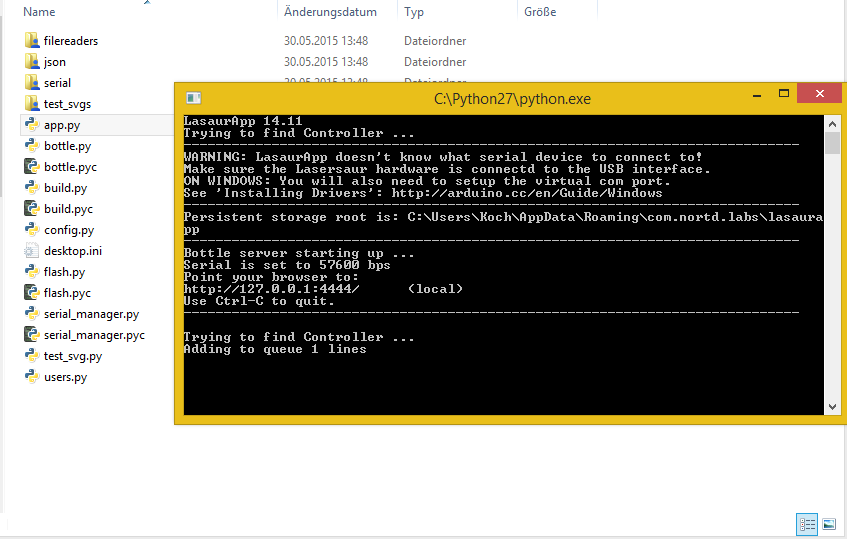
Controlling the Compatibility Offline with the Lasersaur Software
To controll that the maps were compatible with the lasersaur, I downloaded the latest version of the software on my local computer and when you run the app.py from the backend-folder (you may need to install phyton first) the webserver with all the needed tools are running on my computer.
So I uploaded the file and sent it to my not existing, local lasersaur, until it accepted my file without any error.
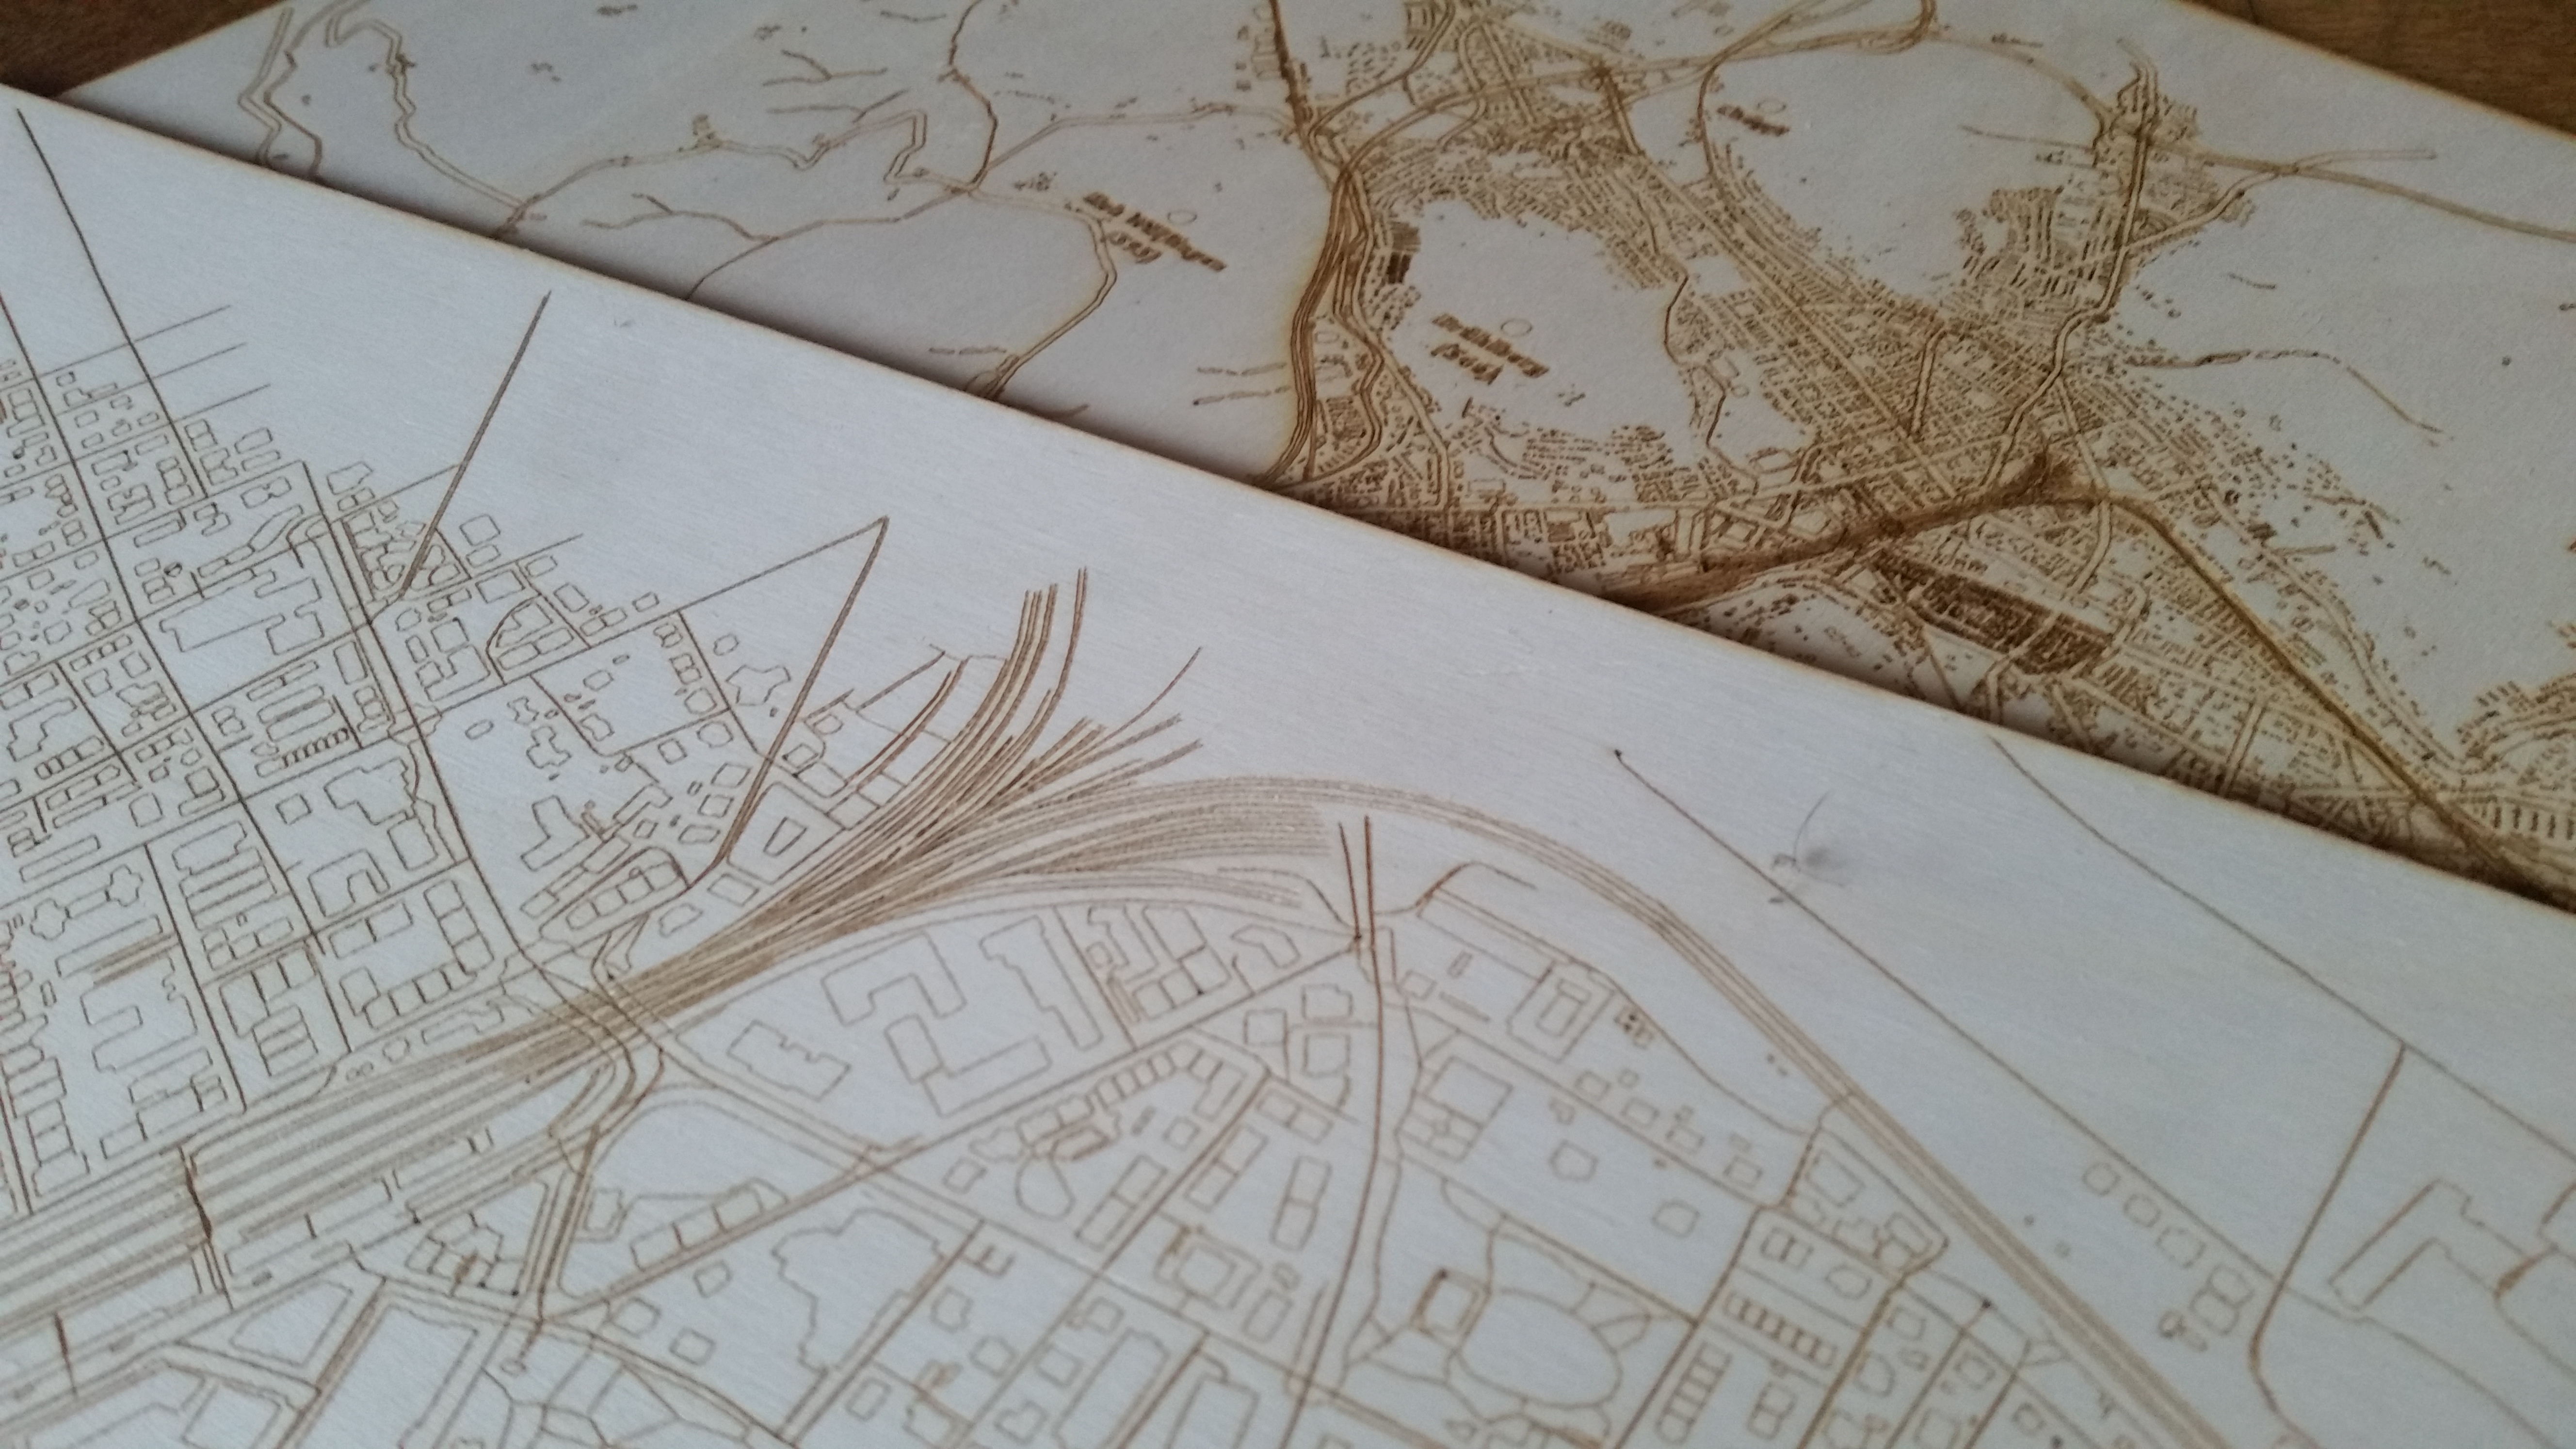
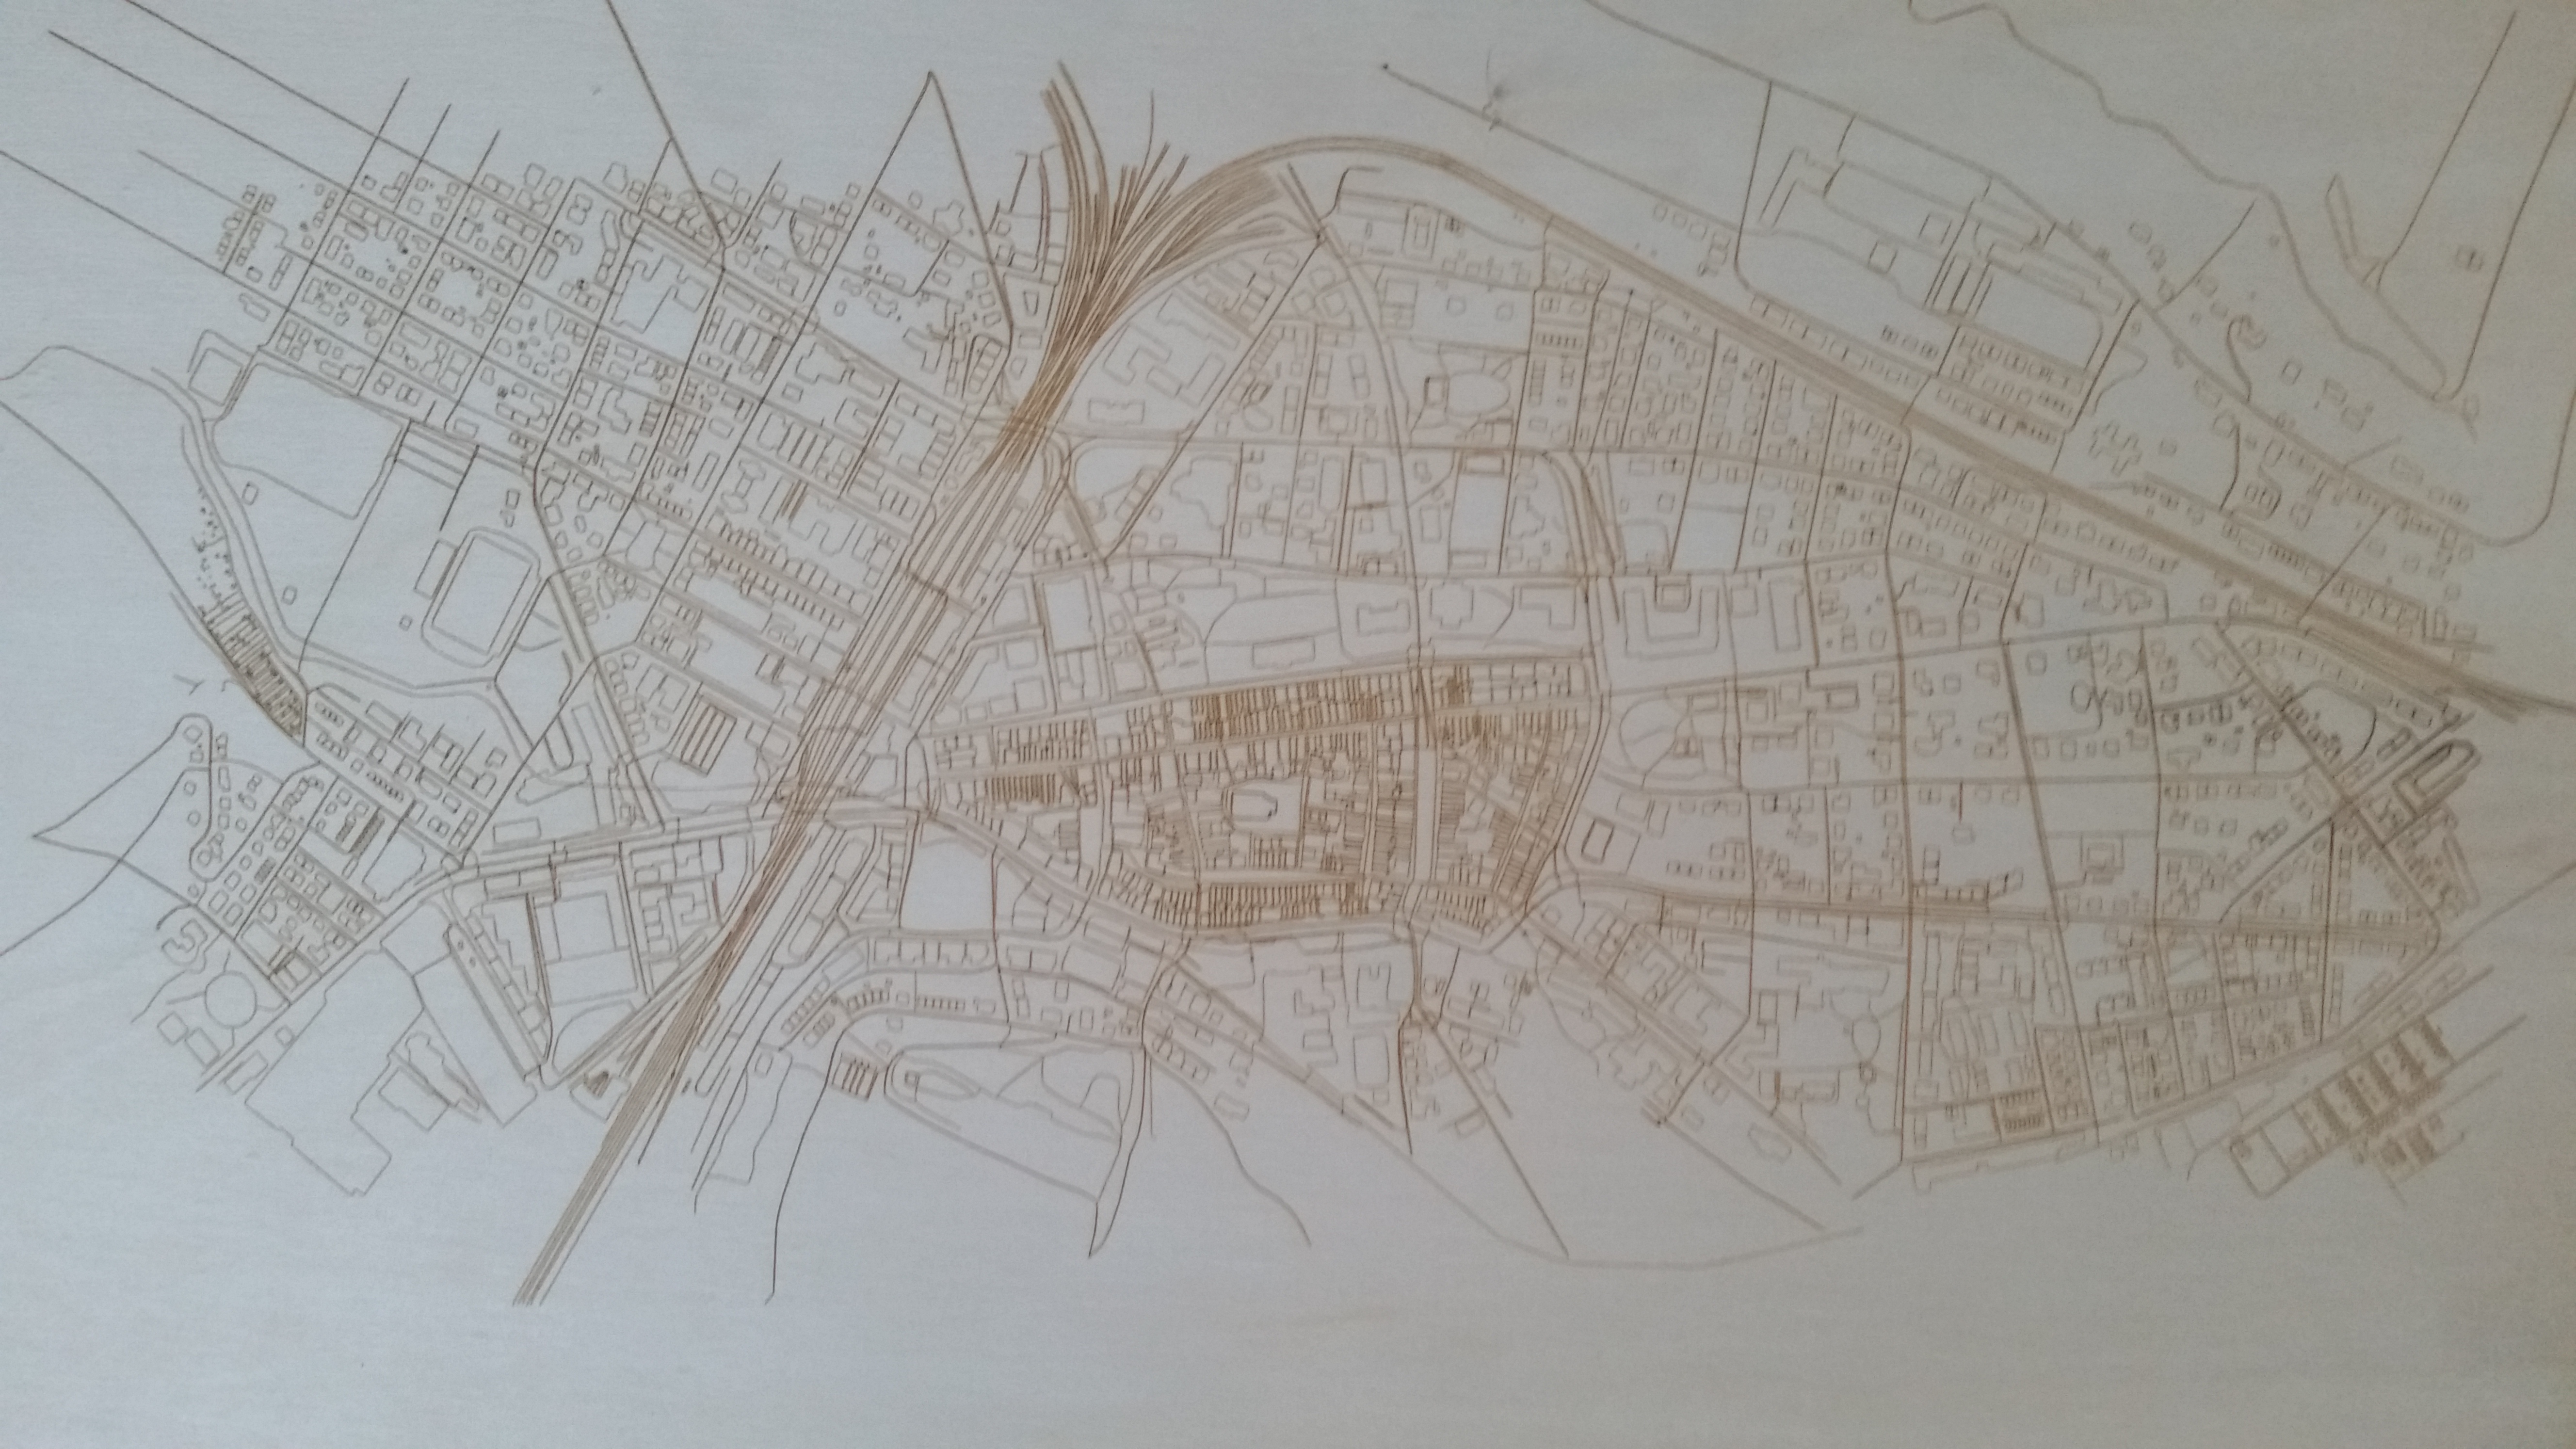
Engraving the Map
That was the point where I headed over to the FabLab Winti, with some 600x550mm sheets of playwood and some beers.
The close up of the inner city was done with 5% and 2200mm/min and it was finished in about an hour. The engraving of the whole city needed about 2 1/2 hours to finish and I ran the machine at 20% 8000 mm/min.
My girlfriend was very surprised and pleased to get theses maps. She’s thinking about to add some magnetic color to the bottom of the plates to be able to add some notes or to add chalkboard color.
She’s coming slowly into the maker mood 😉


 Ben learnt the mechanical craft from scratch in the workshop and then as a technical merchant. He then worked for a few years as a database programmer.
Then he studied mechanical engineering.
And he has completed some CAS trainings in Data Science.
Today he develops special machines for a special machine construction company in Switzerland.
In 2014 he founded the FabLab at Winterthur, Switzerland.
He's main hobbies are his girlfriend, inventing new things, testing new gadgets, the FabLab Winti, 3d-Printing, geocaching, playing floorball, take some photos (www.belichtet.ch) and mountain biking.
Ben learnt the mechanical craft from scratch in the workshop and then as a technical merchant. He then worked for a few years as a database programmer.
Then he studied mechanical engineering.
And he has completed some CAS trainings in Data Science.
Today he develops special machines for a special machine construction company in Switzerland.
In 2014 he founded the FabLab at Winterthur, Switzerland.
He's main hobbies are his girlfriend, inventing new things, testing new gadgets, the FabLab Winti, 3d-Printing, geocaching, playing floorball, take some photos (www.belichtet.ch) and mountain biking.